 Whatcom County
 Building New in Silver Beach? The Windows Only Get Installed Once
New-construction window work is a different job than swapping out an old window in an existing wall. There's no old frame to reference, no prior flashing to correct or work around — just a rough opening, a weather-resistive barrier, and one chance to get the sequence right before siding, trim, and interior finishes bury the details forever. In Silver Beach, where homes sit exposed to salt air, driving rain, and a long stretch of moss season every year, that first-time sequence matters more than it does in drier parts of the state. A window that's installed correctly on day one will handle decades of weather without a callback. One that isn't will show it — staining, soft trim, fogged glass, or a slow leak that doesn't surface until the drywall's already up.
We work new-construction windows on homes and additions throughout Whatcom County, coordinating with builders, GCs, and owner-builders on the rough-opening, flashing, and window-set stage of the build. This page covers what that work actually involves here, and what to expect if you're bringing us in on a Silver Beach project.
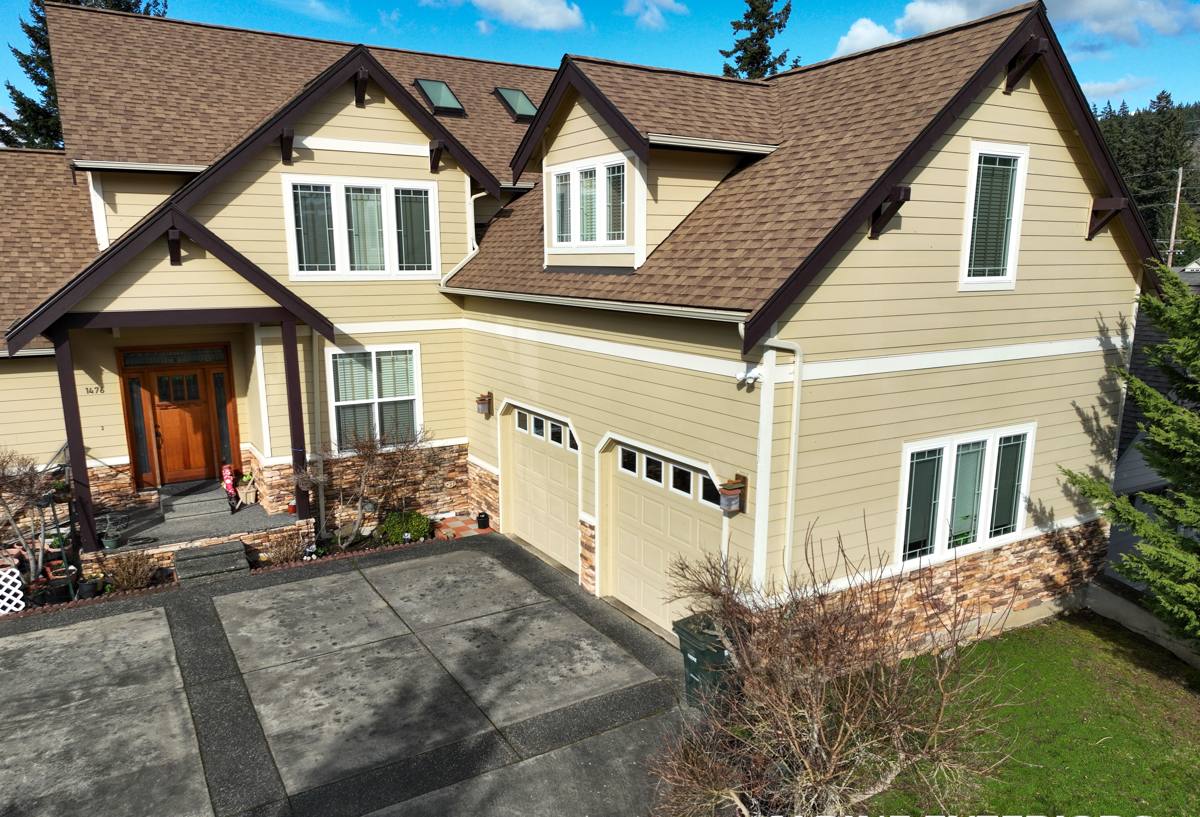
What Whatcom County's Climate Demands of a New Window Install
Salt Air and Coastal Exposure
Homes closer to the water deal with airborne salt that accelerates corrosion on fasteners, hardware, and unprotected metal flashing. On new construction, that means choosing corrosion-resistant fasteners and flashing materials up front, rather than dealing with rust streaks and failed hardware a few years in. It's a small decision at install time and a real headache to fix later once siding is closed up around it.
Driving Rain and Wind-Driven Moisture
Whatcom County storms don't always come straight down — wind-driven rain pushes water sideways and upward into wall assemblies, testing every lap and seam in the flashing. A window that's only detailed for vertical rainfall will eventually leak here. New construction gives us the chance to build the flashing assembly to handle wind-driven moisture from the start, because the wall is open and every layer is accessible.
A Long Moss Season
Extended dampness through fall, winter, and spring keeps north-facing and shaded walls wet longer than homeowners often expect, which is exactly the condition that lets moss and mildew take hold on sills, trim, and cladding. On a new build, this affects material choices at the window opening — sill pan slope, drainage paths, and trim material all need to shed water rather than hold it.
New Construction vs. Replacement — Why the Method Is Different
A lot of homeowners ask why we talk about "new-construction windows" as its own category. The short answer: the installation method is fundamentally different, and it changes what's possible.
| Factor | New Construction (Nail-Fin) | Replacement (Insert/Pocket) |
|---|---|---|
| Access to rough opening | Fully open — framing, WRB, and sheathing visible | Limited — working inside the existing frame |
| Flashing | Built from scratch, integrated with the WRB | Relies on and patches into existing flashing |
| Window size | Full-size opening, no loss of glass area | Slightly smaller sash to fit inside old frame |
| Typical timing | During framing/dry-in, before siding | Anytime, on a finished exterior |
| Best fit for | New homes, additions, full wall reframes | Existing homes keeping the original opening |
Because Silver Beach's climate is unforgiving on shortcuts, we treat the nail-fin, new-construction method as an opportunity — the wall is open, so we build the drainage plane and flashing correctly the first time instead of working around what's already there.
What a Correct New-Construction Install Actually Involves
There's a specific order of operations behind every window that goes in right. Skipping or reordering any of these steps is where most leaks trace back to.
- Rough opening check: verify dimensions, level, plumb, and square before the window ever gets set.
- Sill pan flashing: a sloped, back-dammed pan at the bottom of the opening so any water that gets past the window drains back out, not into the wall.
- WRB integration: the weather-resistive barrier is cut and lapped so water sheds over the flashing at every layer — this is the step that gets rushed on jobs that leak.
- Window set and shim: the unit is shimmed plumb, level, and square, then fastened per the manufacturer's schedule — not just "close enough."
- Jamb and head flashing: integrated over the nailing fin and lapped under the WRB above, so water is always directed outward and down.
- Sealant at the interior: low-expansion foam or backer rod and sealant at the interior gap, both for air sealing and to control condensation.
- Exterior trim and sealant: final caulking and trim detailing, sized and sloped to shed water rather than trap it.
Every one of these steps is inspectable while the wall is open. Once siding goes on, they're not — which is exactly why getting a qualified crew for this stage matters more than for almost any other part of the build.
How We Work With Builders and Homeowners on Silver Beach Projects
Whether we're brought in by a general contractor or working directly with an owner-builder, the process looks roughly the same:
- Plan review: we look at window schedules, rough opening sizes, and elevations before anything is ordered, catching sizing or product mismatches early.
- Product selection: we help match window lines, glass packages, and finishes to the home's exposure and the owner's budget.
- Rough opening verification: on site, before install day, to confirm framing matches the ordered units.
- Install: following the sequence above, on the schedule the framing crew and builder need to keep the build moving.
- Documentation: photos of flashing and sill pan details before they're covered, so there's a record of what's behind the wall.
- Punch-list walkthrough: operation, hardware, and finish check once trim and interior work catch up.
Because we already work Whatcom County regularly, we're familiar with local building department expectations for flashing and moisture management — one less thing for a builder to coordinate on a Silver Beach job.
Choosing Window Products for a Silver Beach Build
Material and glass choice matter as much as installation quality in this climate. A few general guidelines:
- Vinyl: budget-friendly, low maintenance, solid performance for most residential builds — a common, sensible choice for standard elevations.
- Fiberglass: more dimensionally stable across temperature swings, holds paint well, and tends to outlast vinyl under heavy sun and moisture cycling — worth the upgrade cost on more exposed walls.
- Wood-clad: gives an interior wood look with an exterior-facing material designed to handle weather, but the cladding detail and installation have to be precise, since any gap becomes a moisture entry point over time.
- Glass package: look for a low U-factor and appropriate solar heat gain coefficient for our climate — double-pane, low-E glass is the practical baseline here, with the option to go further on especially exposed elevations.
We'll walk through options against your budget and the home's exposure rather than pushing one line by default — the right choice depends on which walls face weather and how much upkeep you want to take on later.
Cost Factors on a New-Construction Window Package
| Factor | How It Affects Cost |
|---|---|
| Window count and size | Larger openings and more units raise material and labor cost proportionally |
| Material (vinyl vs. fiberglass vs. wood-clad) | Fiberglass and wood-clad run higher than vinyl, but often last longer under heavy exposure |
| Glass package upgrades | Better-performing glass adds cost but reduces energy loss and condensation over time |
| Exposure and elevation | Walls facing prevailing wind and rain may warrant upgraded flashing details or materials |
| Coordination complexity | Custom shapes, large sliders, or multi-unit combinations take more install time |
We don't quote a job until we've reviewed actual plans — broad per-window ranges without seeing the specifics aren't useful to a homeowner planning a real budget.
Mistakes We See on Other New-Construction Jobs in This Area
Most window leaks trace back to a small number of repeated errors. Before you sign off on a window package for a Silver Beach build, make sure these are covered:
- No sloped, back-dammed sill pan — flat sills trap water instead of draining it.
- WRB lapped under the flashing instead of over it, sending water behind the barrier instead of in front of it.
- Fasteners that aren't corrosion-resistant, left exposed to salt air.
- Foam or caulk used as the primary water seal instead of proper flashing and drainage.
- Windows fastened before the opening was checked for plumb, level, and square.
- No photo documentation of flashing details before siding covers them.
Why It Matters to Hire a Crew That Already Works Silver Beach
A crew that only occasionally works this area may not default to salt-air-rated fasteners, or may detail flashing for a drier climate than Whatcom County actually has. Working here regularly means we've already made the adjustments — material choices, flashing sequence, sealant selection — that this coastal, high-moisture environment calls for, and we make them by default rather than after something fails. That's the difference between a window install that needs revisiting in a few years and one that doesn't.
If you're planning a new build or addition in Silver Beach and want the window package handled right from the rough opening forward, we're happy to take a look at your plans and put together a straightforward, no-pressure estimate — just fill out the form below.