 Whatcom County
 Why New-Construction Windows Are a Different Job Than Replacements
New-construction windows come with a nailing fin built into the frame, installed before the siding goes on, and integrated into the wall's weather-resistive barrier (WRB) as part of the original build-out. That's different from a pocket or replacement window, which slides into an existing opening after the exterior is already finished. On a new build in Birchwood, we're not working around existing trim or siding — we're setting the window as part of the wall assembly itself, which means the window's long-term performance depends entirely on how well it's flashed and sequenced with the house wrap, tape, and siding that go on around it.
That's actually good news for homeowners. Done right, a new-construction window install gives you a tighter, more predictable water-management system than almost any retrofit ever will. Done wrong — skipped sill pans, reversed flashing laps, fins stapled instead of properly fastened — and you've built a leak path into the wall before the drywall even goes up. In Whatcom County's climate, that mistake doesn't show up as a problem for a year or two. It shows up as rot inside the wall cavity that nobody sees until it's expensive.
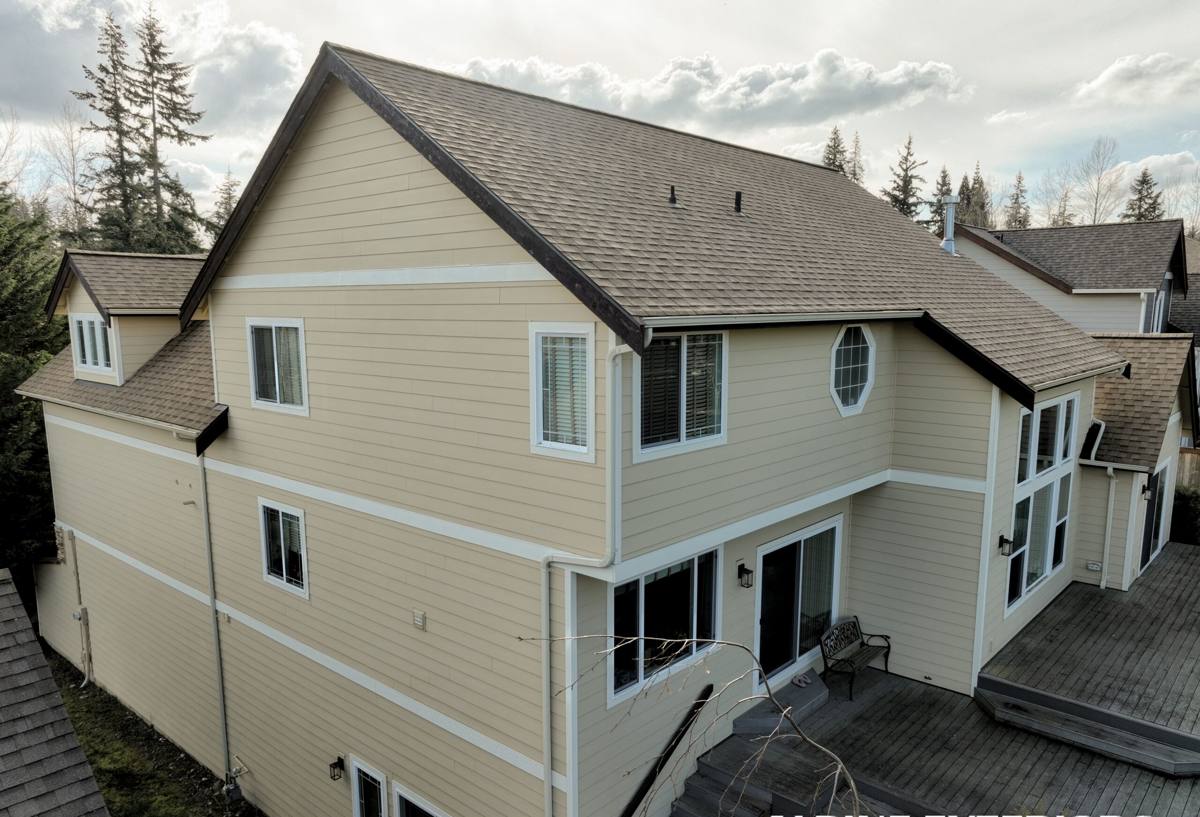
What Birchwood's Climate Actually Does to a New Build
Birchwood sits close enough to the water and the weather patterns that move through Whatcom County that new homes here deal with a specific combination: salt-laden air, long stretches of driving, wind-driven rain, and a moss season that can run more months than it doesn't. Each of those affects window and wall performance differently, and a builder who mainly works inland jobs may not size up correctly for it.
Salt Air
Airborne salt accelerates corrosion on exposed fasteners, hinges, and metal flashing components. It's not usually dramatic — it's slow, and it targets whatever hardware wasn't rated for a marine-influenced environment. On a new build, this is the moment to spec corrosion-resistant fasteners and flashing metals, because retrofitting corroded hardware later means opening up finished walls.
Driving Rain
Wind-driven rain doesn't just fall on a window — it gets pushed sideways and upward into any gap in the flashing sequence. New-construction windows rely on a shingled, gravity-fed drainage plane: each layer laps over the one below it so water sheds outward no matter which direction it's coming from. Get the lap order wrong at the head flashing or skip a sill pan, and driving rain finds the one spot where water can travel backward into the wall.
Long Moss Season
Constant dampness and shade in parts of Whatcom County mean moss and algae growth on horizontal surfaces — window sills, trim boards, and anywhere water sits instead of draining. On new construction, this argues for sill design and flashing that actively sheds water rather than holding it, plus trim materials and gaps sized to let the assembly dry out between wet spells.
What a Correct New-Construction Window Install Involves
There's a defined sequence, and skipping steps or doing them out of order is where most window-related water damage in new builds actually starts.
- Rough opening prep: The opening is checked for square, level, and correct dimensions before anything else happens. An out-of-square opening stresses the window frame and can compromise the seal even with perfect flashing.
- Sill pan flashing: A sloped, sealed pan goes at the bottom of the opening first, so any water that gets past the window has a built-in path back outside instead of soaking into the framing.
- Window placement and fastening: The window is set into the opening, shimmed level and plumb, and fastened through the nailing fin per the manufacturer's schedule — not just "enough nails to hold it."
- Jamb and head flashing: Side flashing goes on next, then head flashing last, each one lapping over the layer below in the correct shingle order so water always sheds down and out.
- WRB integration: The house wrap or building paper is cut, folded, and taped back over the flashing so the window becomes a sealed part of the continuous drainage plane across the whole wall — not an isolated patch.
- Interior and exterior sealant: Backer rod and sealant at the interior air seal, plus appropriate exterior sealant only where the manufacturer specifies it — over-sealing the exterior can actually trap water instead of letting it drain.
- Siding and trim tie-in: Once the window is flashed and sealed, the siding and trim are installed to shed water onto and past the window assembly, not into it.
Choosing Windows for a Birchwood New Build
Frame material and glazing package both matter more here than in a drier, inland climate. We look at three things for every new-construction project in this area: how the frame material holds up to sustained moisture and salt exposure, how the glazing package performs for both energy retention and condensation resistance in our damp winters, and how serviceable the hardware is over a 15-20 year horizon.
| Frame Material | Moisture Behavior | Maintenance | Typical Fit for Birchwood |
|---|---|---|---|
| Vinyl | Doesn't rot or corrode; performs consistently in damp climates | Low — occasional cleaning | Strong, budget-friendly default |
| Fiberglass | Excellent stability, resists warping from moisture and temperature swings | Low | Good upgrade where durability is prioritized |
| Wood (clad or unclad) | Attractive but vulnerable at exposed or unclad joints in a wet climate | Higher — needs monitoring and upkeep | Workable with proper cladding and detailing, not our default recommendation for high-exposure elevations |
| Aluminum | Prone to condensation and thermal transfer unless thermally broken | Moderate | Only with thermally broken frames; otherwise a poor match for this climate |
We're not against wood-framed windows on principle — they can look great and perform well when cladding and flashing are done correctly. But we're honest that a wood frame in a high-moisture, salt-air location carries more long-term maintenance burden and more installation sensitivity than vinyl or fiberglass. If a homeowner wants that look, we'll talk through what upkeep it actually requires before they commit, not after.
Our Process on New-Construction Projects in Birchwood
We coordinate directly with the builder or general contractor rather than working in isolation. Window flashing has to integrate with the WRB and siding sequence, so timing and communication with whoever's running the broader build matter as much as our own workmanship.
- Review the window schedule and rough openings before installation day — catching a sizing or spec issue on paper is a lot cheaper than catching it in the wall.
- Inspect each rough opening for square and correct flashing prep before setting windows.
- Install sill pans, then windows, then jamb and head flashing in the correct shingled sequence.
- Tie the WRB back over all flashing so the drainage plane stays continuous across the whole wall, not just around the window.
- Photograph each opening's flashing before it gets covered by siding, so there's a record of what's behind the finished wall.
- Walk the finished openings with the builder before siding installation begins, so any correction happens while the wall is still open.
A Quick Pre-Siding Checklist
- Rough openings checked for square and correct dimensions
- Sill pans installed and sloped to drain outward
- Windows shimmed level, plumb, and fastened per manufacturer spec
- Flashing laps run in correct shingle order (sill, jamb, head)
- WRB taped and integrated over all flashing, no gaps
- Interior air seal completed with backer rod and sealant
- Corrosion-resistant fasteners used at all exterior attachment points
What Happens When This Is Rushed
The most common shortcut we see on new builds is skipping the sill pan or relying on sealant alone instead of a proper shingled flashing sequence. Sealant is not a substitute for flashing — it degrades, it's applied unevenly, and it can't manage bulk water the way a correctly lapped flashing system can. In a driving-rain climate like ours, that shortcut usually surfaces as staining or soft framing near the window a few years down the road, well after the siding crew and builder have moved on. Getting it right the first time costs the same in materials and only slightly more in labor time — it's a sequencing and attention-to-detail issue, not a budget issue.
Cost Factors for New-Construction Window Installation
Pricing on new-construction window work depends on more than the window unit itself. Homeowners and builders in Birchwood should expect the following to move the number:
| Factor | Why It Matters |
|---|---|
| Window count and size | More openings and larger units mean more flashing detail work, not just more materials |
| Frame material chosen | Vinyl, fiberglass, wood, and clad options carry different material and install costs |
| Wall assembly complexity | Multiple WRB layers, rainscreen gaps, or special siding systems add coordination time |
| Elevation exposure | Walls facing prevailing wind and rain often warrant extra flashing detail or upgraded sealants |
| Access and building stage timing | Coordinating install timing tightly with the builder's schedule affects crew efficiency |
We don't quote sight unseen for new construction — every project's window schedule and wall assembly is different, and a real number requires reviewing the plans or the framed structure directly.
Why a Crew That Already Works Birchwood Matters Here
New-construction window installation isn't a product problem, it's a sequencing and detailing problem, and that's exactly where local experience pays off. A crew that's flashed openings through a Whatcom County winter knows how much lap is actually needed at the head flashing when driving rain is coming sideways off the water, not just what a generic installation manual says. They've seen what salt air does to the wrong fastener choice a few years out, and they size hardware accordingly from the start instead of learning it the hard way on someone's new home.
If you're building new in Birchwood and want the windows done as a correctly sequenced part of the wall system — not just units dropped into openings — we're glad to walk your plans or your framed structure and tell you honestly what your project needs. Reach out for a free, no-pressure estimate using the form below.