 Whatcom County
 Building Right From the Start: New-Construction Windows in Happy Valley
When a home in Happy Valley is framed and ready for windows, that installation only happens once before siding, trim, and interior finishes close everything up. Get the window install right at this stage and the house stays dry and comfortable for decades. Get it wrong, and the mistake gets buried behind finished walls where nobody finds it until there's a stain, a soft spot, or a mold smell years down the road. New-construction window work is one of the few trades on a build where "close enough" isn't a phrase we use — because there's no going back to fix it cheaply once the crew moves on to the next stage.
We install new-construction windows on homes throughout Whatcom County, and Happy Valley builds come with their own set of demands. The area sits close enough to the water and open farmland that wind-driven rain, salt-tinged air, and long stretches of damp, mossy weather are part of the deal. Windows here need to be installed with that reality in mind from day one, not treated like they would be on a dry-climate build somewhere inland.
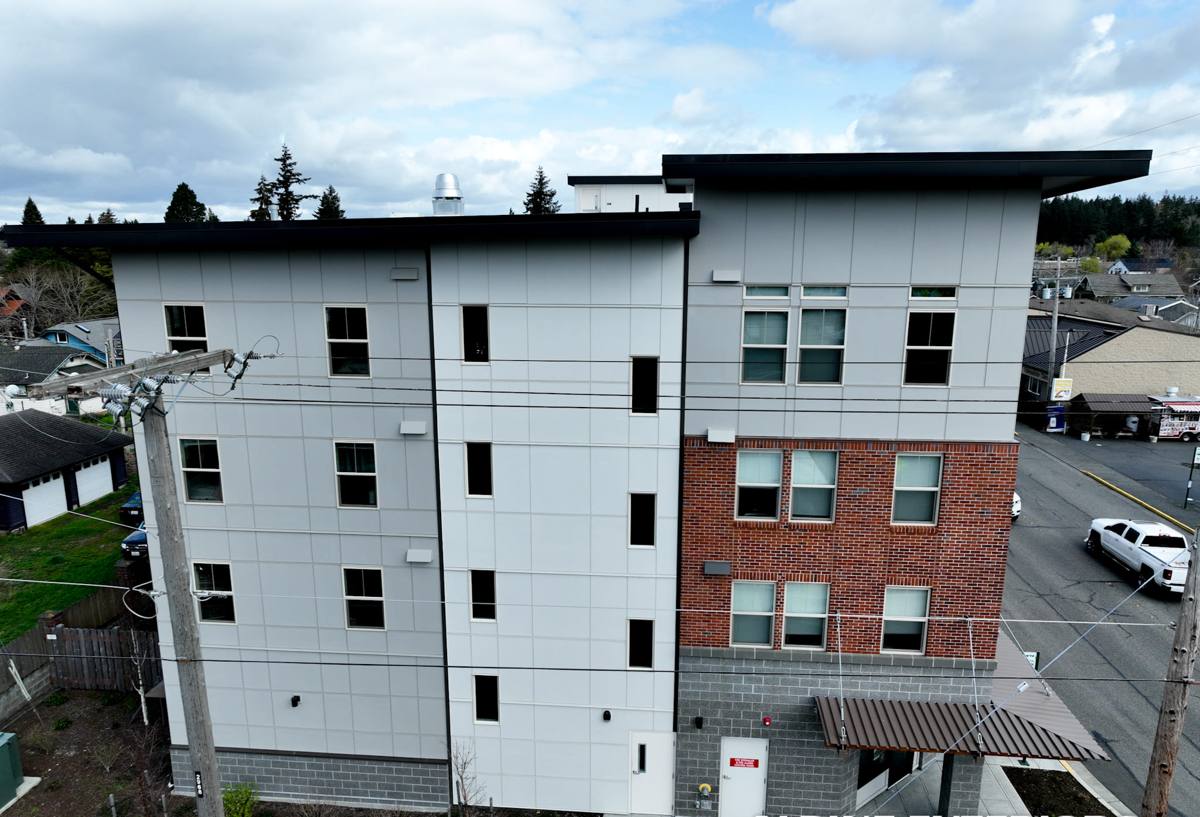
New Construction vs. Retrofit: Why the Installation Method Matters
New-construction windows have a nailing fin (also called a flange) around the perimeter of the frame that gets fastened directly to the wall sheathing, then integrated into the house's water-resistive barrier (WRB) and flashing system before siding goes on. This is fundamentally different from a retrofit or "pocket" replacement window, which fits inside an existing frame and relies on caulking and the old frame's condition for weatherproofing.
On a new build, we get to do it the right way the first time: sill pan flashing, proper WRB shingling, and a fully integrated drainage plane that sheds water down and out instead of trapping it in the wall cavity. This is the single biggest advantage of doing it during framing rather than retrofitting later — and it's also the reason the installation sequence has to be followed precisely. Skip a step, and the window looks fine on install day but fails quietly for years.
Why Sequence Matters More Than Speed
Framers and window crews are often under pressure to move fast so drywall and siding trades can start. We understand that pressure, but a rushed window install is where callbacks come from. Every layer — sill pan, side flashing, head flashing, WRB lap — has to go on in the correct order, overlapping like shingles on a roof, so water always has a path downward and outward, never inward.
What Whatcom County's Climate Demands From Your Windows
Whatcom County weather isn't extreme in the way a hurricane zone or desert climate is, but it's relentlessly damp, and that steady exposure is what actually wears a window installation down over time.
- Driving rain: Wind off the water and open fields pushes rain sideways against west- and south-facing walls, testing flashing details far more than a straight-down rain would.
- Salt air: Proximity to Puget Sound and the Strait of Georgia puts a fine salt content in the air that accelerates corrosion on lower-grade hardware, fasteners, and metal flashing over the years.
- Long moss season: Cool, wet conditions for much of the year mean moss and algae growth on anything that stays damp — including window sills, trim, and the tops of frames if water isn't shedding properly.
- Temperature swings: Even modest daily swings cause expansion and contraction in sealants and frame materials, which is why sealant quality and joint design matter more here than in a stable climate.
None of this means Happy Valley needs an unusual or exotic window. It means the installation details — flashing laps, sealant choice, drainage gaps — have to be done correctly, every time, because the climate won't forgive shortcuts the way a drier region might.
Anatomy of a Correct New-Construction Window Install
A properly installed new-construction window is really a system of layers working together, not just a unit screwed into a rough opening. Here's what has to happen, in order:
- Rough opening prep: Confirm the opening is square, plumb, and sized correctly before the window ever gets set.
- Sill pan flashing: A sloped, sealed pan at the bottom of the opening so any water that gets past the window has a way out, rather than sitting on bare wood.
- Window set and fastening: The unit is set into the opening, checked for level and square, and fastened through the nailing fin per the manufacturer's schedule — under-fastening or over-driving nails both cause problems.
- Flashing tape at the fin: Side and head flashing tape integrates the nailing fin with the WRB, always lapped so upper layers overlap lower ones.
- WRB integration: The house wrap or building paper is cut, folded, and taped around the opening so the whole wall's drainage plane stays continuous.
- Interior and exterior sealant: Backer rod and the correct sealant type at appropriate joints — never sealant as a substitute for proper flashing.
- Final inspection: Checked for square, operation, and a clean, continuous flashing path before siding crews close it up.
Every one of these steps is inspectable while the wall is still open. Once siding goes on, it's not.
Choosing the Right Window Material for This Climate
Homeowners building in Happy Valley usually ask us to weigh in on frame material. There's no single "best" answer — it depends on budget, maintenance appetite, and how the elevation faces the weather. Here's how the common options compare for a damp, salt-tinged Whatcom County build:
| Material | Moisture & Salt Resistance | Maintenance | Typical Cost Position |
|---|---|---|---|
| Vinyl | Good — won't corrode or rot, but seals and hardware are the weak point over time | Low — occasional cleaning | Most affordable |
| Fiberglass | Excellent — dimensionally stable, resists moisture and salt exposure well | Low | Mid to upper-mid |
| Wood-clad | Good on the exterior clad face, but any breach in the cladding exposes wood to rot risk in this climate | Higher — needs monitoring at joints and sills | Upper |
| Aluminum | Fair — prone to corrosion pitting near salt air over decades unless properly finished | Moderate | Varies widely |
We don't push homeowners toward one brand or material across the board. What we do insist on is matching the product to the exposure: a wall that takes direct driving rain off the water deserves a more forgiving material and more careful flashing than a sheltered, north-facing wall on the same house.
Our New-Construction Window Process
Coordinating With Your Build Timeline
We work directly with builders and homeowners to slot window installation in at the right point — after the wall sheathing and WRB are up, before siding starts. Showing up too early or too late in the framing sequence is one of the most common causes of rushed, poorly flashed installs on new builds.
On-Site Steps
- Verify rough openings against the window schedule before delivery
- Install sill pans and flashing per the manufacturer's instructions and local best practice for wind-driven rain
- Set, level, and fasten each unit correctly for its size and weight
- Integrate flashing tape and WRB in the correct shingled order
- Apply sealant only where it belongs — not as a patch for a flashing gap
- Walk the whole opening set with the builder or homeowner before siding closes it in
We photograph flashing details before they're covered, so there's a record of what's behind the siding if it's ever needed later.
Mistakes We Catch on Local New Builds
We get called in on other crews' work often enough to know the patterns. The most common issues we find on Whatcom County new builds:
- Sealant used in place of proper sill pan flashing — looks fine, fails once the sealant ages
- WRB cut but never taped back down around the opening, leaving a direct path for wind-driven rain
- Nailing fins fastened inconsistently, leaving gaps that let the frame flex under wind load
- Flashing tape applied in the wrong order (bottom-up instead of shingled top-down), which traps water instead of shedding it
Every one of these is invisible on move-in day and shows up two, five, or ten years later as a stain on drywall or soft trim at the sill — right when moss season and driving rain have had time to find the gap.
Why Local Experience in Happy Valley Matters
A window installer who only works in drier inland regions doesn't think about wind-driven rain and salt air the same way a crew that works Whatcom County year-round does. We know which elevations on a typical Happy Valley lot take the brunt of the weather, how the moss season affects sills and trim if drainage isn't right, and what sealant and flashing products actually hold up here versus what looks good on a spec sheet from a warmer climate. That local pattern recognition is what separates a window install that looks right on day one from one that's still performing right after ten wet winters.
Keeping New Windows Performing Long-Term
A correct install is most of the battle, but a few basic habits keep new-construction windows performing for the life of the house:
- Rinse sills and tracks periodically to keep moss and algae from taking hold during the wet season
- Check exterior sealant lines yearly for cracking or separation, especially on sun- and rain-exposed elevations
- Keep gutters and downspouts clear so roof water isn't dumping onto window heads below
- Watch for any soft spots or discoloration at interior sills, which are the earliest sign of a flashing issue
- Have hardware and weatherstripping inspected every few years, since salt air can accelerate wear on lower-grade components
If you're building or finishing a home in Happy Valley and want new-construction windows installed the way this climate actually requires, we're happy to walk the plans with you and give a free, no-pressure estimate — just fill out the form below.