 Whatcom County
 Building New in Nooksack? The Windows Only Get Installed Once
When you're building new in Nooksack, the window install happens at one specific point in the framing sequence, gets covered by siding and trim, and then it's done. There's no "we'll fix it later" the way there is with a lot of finish work. If the flashing sequence is wrong or the nailing fin isn't sealed correctly, that mistake sits behind the wall for the life of the house. In a climate like Whatcom County's, where wind-driven rain and long wet stretches are normal rather than occasional, that first install has to be right the first time.
New-construction windows are a different job than replacing an old window in an existing wall. They're installed before the siding goes on, tied directly into the weather-resistive barrier (WRB) and flashing system of the house, and they're the foundation the rest of the building envelope depends on. We work new-construction jobs in Nooksack and the surrounding county on a regular basis, alongside builders and homeowners managing their own build, and this page covers what that work actually involves here.
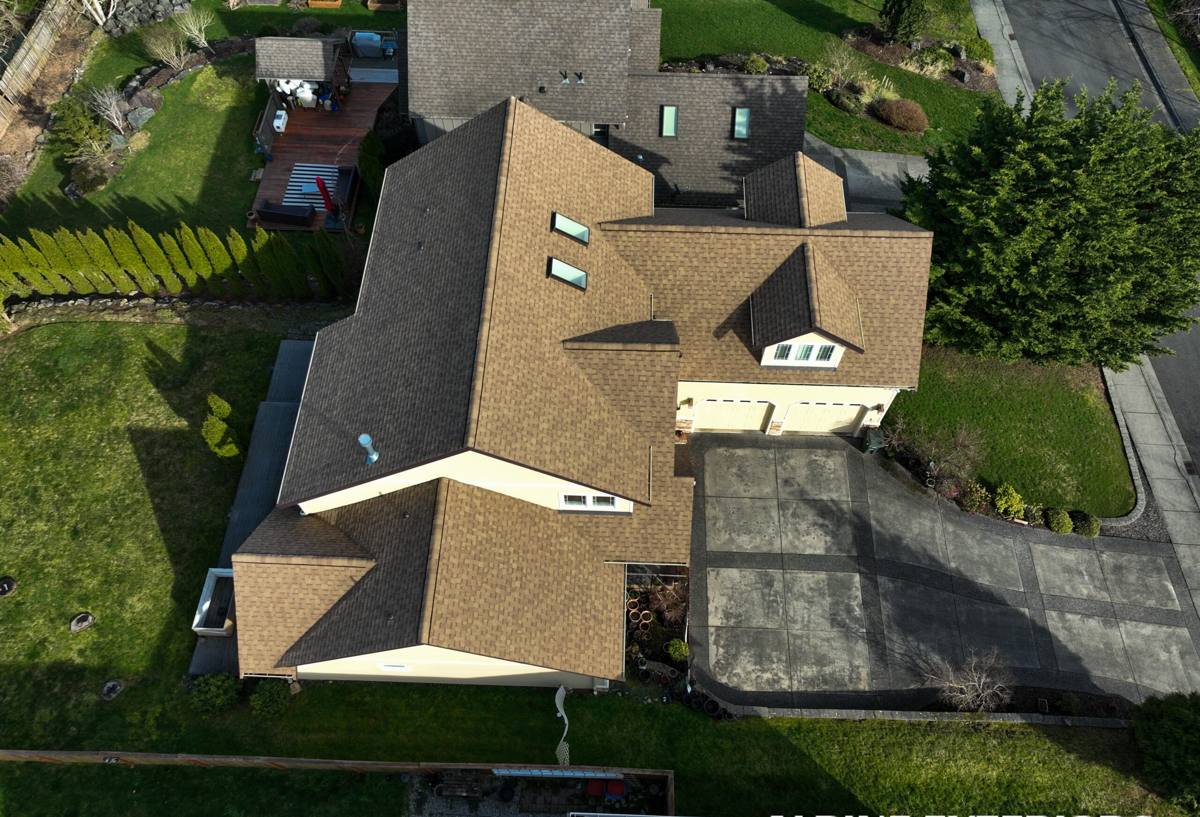
What Whatcom County's Climate Asks of New-Construction Windows
Nooksack sits in a part of Whatcom County that gets the full mix of Pacific Northwest weather: long stretches of wind-driven rain, humidity that lingers under tree cover, and a moss and algae season that runs most of the year on shaded, north-facing surfaces. None of that is unusual for the region, but it does change what "correct installation" means compared to a drier climate.
Driving Rain
Rain here doesn't just fall straight down — wind pushes it sideways into wall assemblies, especially on exposed elevations. A window opening needs a sill pan, properly lapped flashing, and a nailing fin that's fully sealed to the WRB so that any water that gets past the exterior cladding is directed back out, not into the framing.
Salt Air and Moisture-Laden Air
Whatcom County's proximity to the Sound and the general marine air pattern means metal components — fasteners, flashing, hardware — are exposed to more corrosive moisture over time than they would be further inland. We spec fasteners and flashing materials with that exposure in mind rather than treating it as a non-issue.
Moss and Sustained Dampness
A long moss season means anything that stays damp — a sill that doesn't shed water, a corner where caulk was used instead of proper flashing — becomes a growth surface and eventually a moisture path. Correct flashing and drainage planes matter more here than in a climate where surfaces dry out quickly between storms.
New-Construction Windows vs. Replacement Windows: Why the Method Is Different
A lot of homeowners assume a window is a window, but the installation method is fundamentally different depending on whether the wall is open (new construction) or finished (replacement/retrofit). Using the wrong method for the situation is one of the more common issues we get called to correct.
| Factor | New-Construction (Nail Fin) | Replacement (Insert/Pocket) |
|---|---|---|
| When it's used | Wall is open to the studs; siding and WRB not yet installed | Existing wall and siding stay in place |
| Attachment method | Nailing fin fastened directly to sheathing, integrated with WRB and flashing | Frame fits inside the old frame; sealed with sealant and trim |
| Water management | Full sill pan and flashing sequence tied into the house wrap | Relies more heavily on sealant at the perimeter |
| Best fit for this job | Correct choice for new builds and additions | Correct choice for existing homes, not new framing |
For a new build in Nooksack, nail-fin, new-construction windows are the right product — but only if the flashing sequence around them is done correctly. A good window installed with a sloppy flashing job will still leak eventually; the product isn't the whole story.
What a Correct New-Construction Install Actually Involves
There's a specific order of operations that keeps water moving out of the wall assembly instead of into it. When we're brought in on a build, this is the sequence we follow, whether we're the ones hanging the WRB or picking up mid-sequence from a builder's framing crew:
- Rough opening checked for square, level, and correct sizing before the window ever gets set
- Sill pan installed and sloped to drain to the exterior, not flat or sloped inward
- WRB (house wrap) lapped correctly at the sill, jambs, and head in the right shingle-style order
- Window set, shimmed, and fastened per the manufacturer's specified fastening pattern — not "close enough"
- Nailing fin taped or flashed on the sides and top, integrated with the WRB so water sheds over each layer
- Head flashing installed above the window before siding or trim goes on
- Interior air sealing (low-expansion foam or backer rod and sealant) around the frame, separate from the exterior water management
- Final check for level, plumb, and smooth operation before the opening is closed in with siding
Any one of these steps skipped is usually invisible on install day and only shows up as a stain, soft spot, or drafty room a few years later. It's worth asking whoever is installing your windows to walk through this sequence with you before the wall closes up.
Choosing Frame Material and Glass for This Climate
Frame material and glass package matter for both comfort and long-term maintenance in a wet marine climate. We don't push one product line — we walk through the honest trade-offs for the specific build.
| Frame Type | Typical Cost Position | Maintenance in This Climate | Notes |
|---|---|---|---|
| Vinyl | Lower | Low — doesn't rot, minimal upkeep | Good value; wide range of quality between manufacturers |
| Fiberglass | Mid to higher | Low — very stable in temperature and moisture swings | Holds paint well if you want a custom color long-term |
| Wood / Wood-Clad | Higher | Higher — exterior cladding helps, but sightlines and seals need attention | Best suited to covered elevations or homes committed to upkeep |
| Aluminum | Mid | Moderate — needs a thermal break to avoid condensation in our climate | Less common in residential new construction here |
On glass, we typically talk through low-E coatings and gas-fill options based on the orientation of each elevation — a west-facing wall catching afternoon sun performs differently than a shaded north wall that never fully dries out. There's no single "best" package; it depends on where the window sits on the house.
How We Work With Builders and Homeowners on New Builds
New-construction window work usually means coordinating with a general contractor's schedule, not just showing up on our own timeline. Our process on a Nooksack build typically looks like this:
- Review plans or rough openings with the builder before framing is finalized, so window sizes and rough openings match
- Confirm the WRB and flashing plan with whoever is doing the weather barrier, so there's one clear sequence instead of two crews assuming the other handled it
- Install on the framing schedule's timeline, not delayed past the point where the building is sitting open to weather
- Walk the completed openings with the builder or homeowner before siding closes them in
- Follow up after siding and trim are complete to confirm operation and seals
That mid-build walkthrough step is one a lot of new-construction window jobs skip, and it's the easiest point to catch a flashing issue — while the wall is still open and a fix takes minutes instead of tearing into finished siding later.
Mistakes We See on New Builds (and How We Avoid Them)
Most of the window problems we get called out to fix on newer homes trace back to a handful of recurring issues, not product failure:
- Sealant used in place of flashing. Caulk is a backup, not a water management plan. It fails long before the wall assembly should.
- Reversed lap order on the WRB. House wrap has to overlap shingle-style, top over bottom. Done backward, it channels water inward instead of out.
- Missing or flat sill pans. A sill pan that doesn't slope out defeats the purpose of having one at all.
- Fastening pattern shortcuts. Skipping fastener locations to save time undermines both structural performance and the manufacturer's warranty.
- No head flashing. Easy to forget once the window is set and trim is going up fast, but it's one of the most common leak points we find.
None of these are exotic problems — they're sequencing and attention-to-detail issues that show up when a crew is moving fast and hasn't built houses in this specific climate before.
Why a Crew That Already Works in Nooksack Matters
Window installation methods that work fine in a drier climate can leave a Whatcom County house vulnerable to the driving rain and sustained dampness that are normal here. A crew that regularly works new construction in Nooksack and the surrounding county already has the flashing sequence, fastener choices, and sill detailing dialed in for this weather — it's not something we're figuring out on your build. We also know how local building department expectations and typical framing practices around here tend to run, which keeps inspections and scheduling smoother for the builder.
If you're planning a new build or addition in Nooksack and want the window install handled correctly from the rough opening forward, we're glad to walk your plans with you and give a straightforward, no-pressure estimate — just fill out the form below.